Auth0, Firebase, & AWS Lambda User Auth (Part 2)
Published on July 5, 2021
Last Revised on July 25, 2021
This series of posts describes one way to add user authentication to an Angular application using Auth0 and Firebase with the help of AWS Lambda.
Overall Takeaways
This guide shows one way to integrate Auth0, AWS Lambda, and Google Firebase together into the authentication of an Angular app. It is not a complete, polished, production-ready authentication solution, however you will learn a way to:
- Integrate Auth0 into an Angular App
- Create a route in API Gateway and secure it with a JWT
- Store (encrypt) and retrieve (decrypt) a Firebase Admin key in the AWS Parameter Store
- Mint a Firebase auth token in an AWS Lambda
- Authenticate into Firebase using a custom minted token
Guide Overview
- Part 1 - Setup of the Angular App and setup & integrate Auth0 into it.
- Part 2 - (YOU ARE HERE) Setup & integration of Firebase into the app.
- Part 3 - Setup of AWS API Gateway & Lambda to use by the app.
Prerequisites
First, you will need a local Express server to act as the AWS Lambda. I have a guide you can follow here.
Second, this guide is a continuation, so Part 1 needs to be completed before getting started with this guide. If you want to skip the part 1 guide, below is a branch to clone that will get you almost all the way caught up.
The /auth0-config.json will need to be updated with your Auth0 application domain and clientid.
Next, install all the dependencies and startup the app so we can take a look at what's going on.
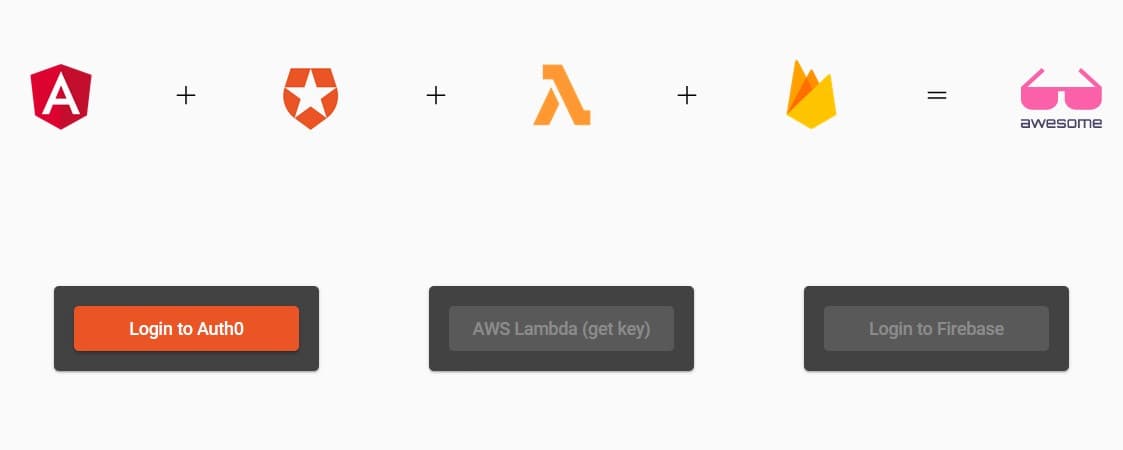
This guide focuses on the integration of external services so we will keep the UI simple and use this basic three-button Angular app. The idea beind the UI is that each button becomes enabled once the prior step in the authentication process is successfully completed.
- Login to Auth0 button: Authenticate using Auth0
- AWS Lambda (get key) button: Call the AWS Lambda and generate the Firebase auth token
- Login to Firebase button: Login to Firebase with the auth token to complete the authentication process
src/app/services/auth.service.ts maintains the state of the authentication progress and includes the auth0-angular sdk. app.component.ts has the Auth service injected and references the Observables which stream any of change of state to their subscribers. The app template, app.component.html, subscribes to these and updates the view via the | async as the authentication state changes.
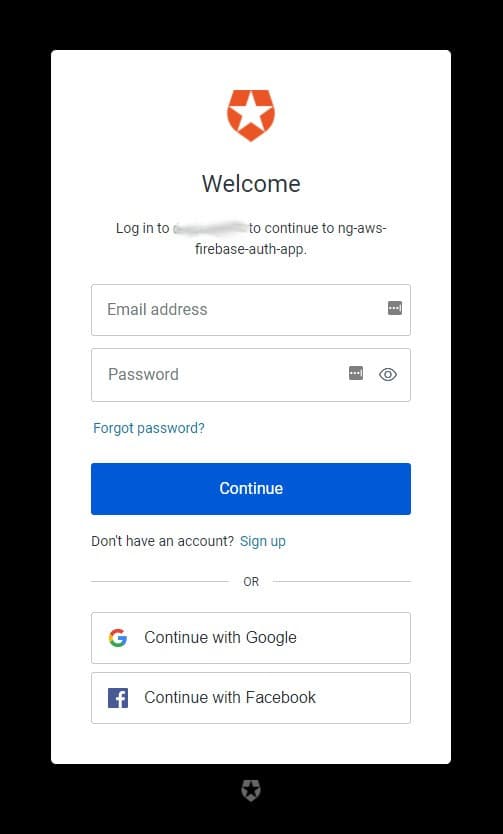
If everything went as planned, once you click on the Login to Auth0 button, an Auth0 modal will pop-up requesting login.
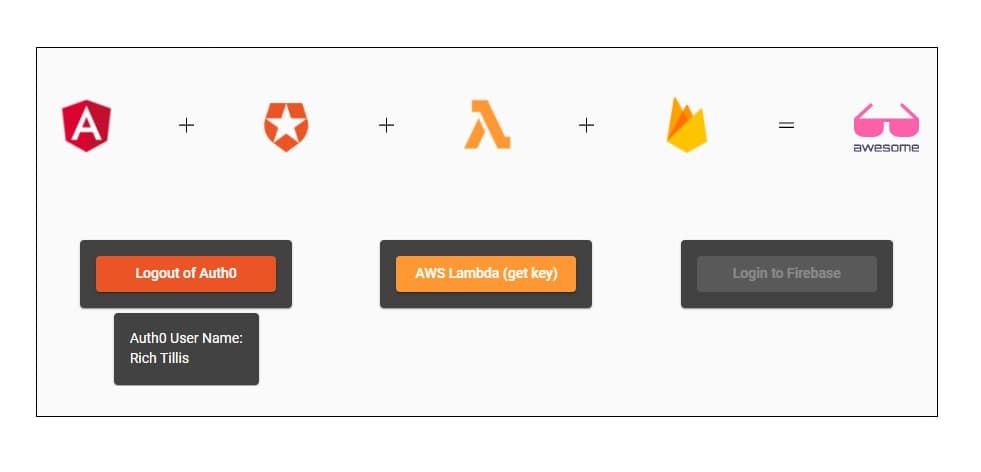
Finally, once you have authenticated using Auth0, your Auth0 user name will be displayed under the Logout of Auth0 button.
ctrl c to stop the app. We are now ready to integrate Firebase into the app. Let's get started!
Firebase Project Setup & Integration into the Angular App
Create the Firebase Project
Firebase is a service provided by Google so any gmail account will include Firebase. Log into Firebase. Once logged in, you will arrive at the Firebase Console. From your console, click on Add Project.
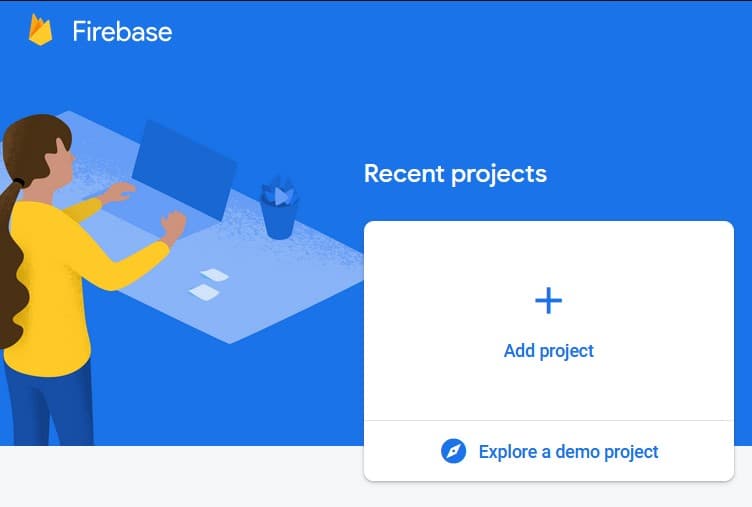
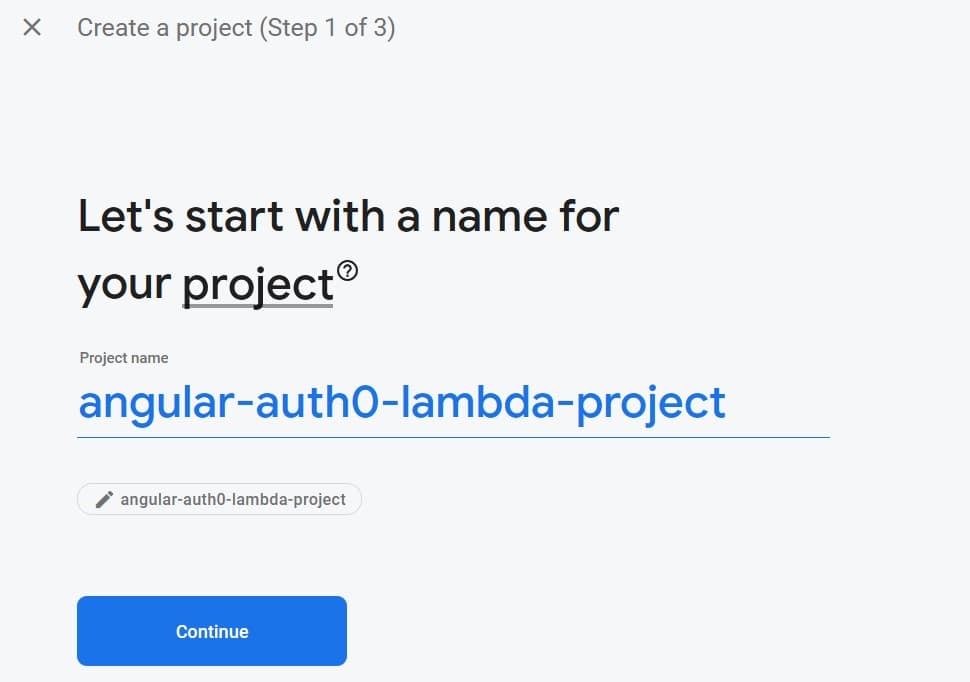
Then you will be prompted to name your project. It can be anything. For this guide, I called the project angular-auth0-lambda-project.
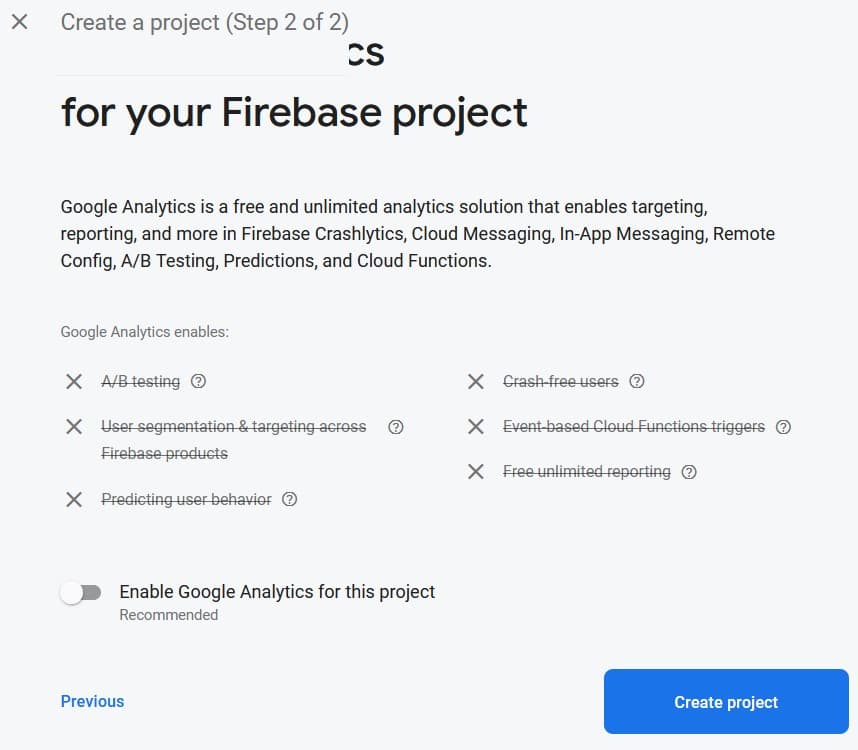
In the next step you will be asked about additional Firebase features related to Google Analytics. These are outside the scope of this guide so disable the Enable Google Analytics for this Project toggle button. Then click the Create project button.
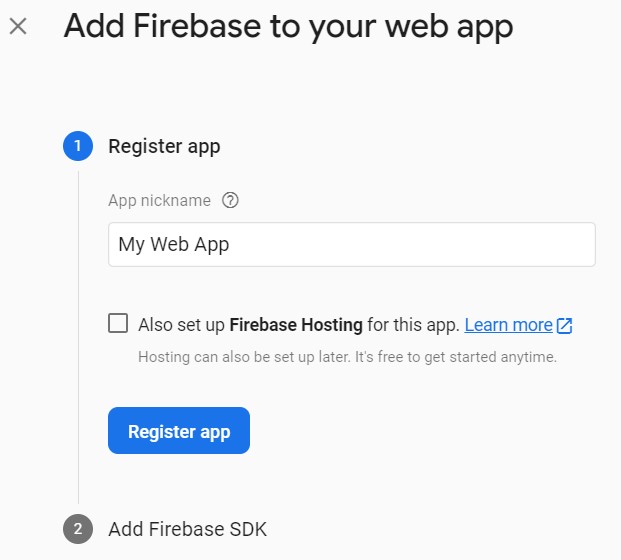
Once the project is created, we need to create an app within it to create a connection to the project from the outside. There are options to create iOS, Android, Web, or Unity apps. We want to create a Web app so click on the </> icon.

Next you will be prompted to add a nickname to your app. This is an internal name within your Firebase project, and you can name it whatever you want. After you name it, click the Register app button.
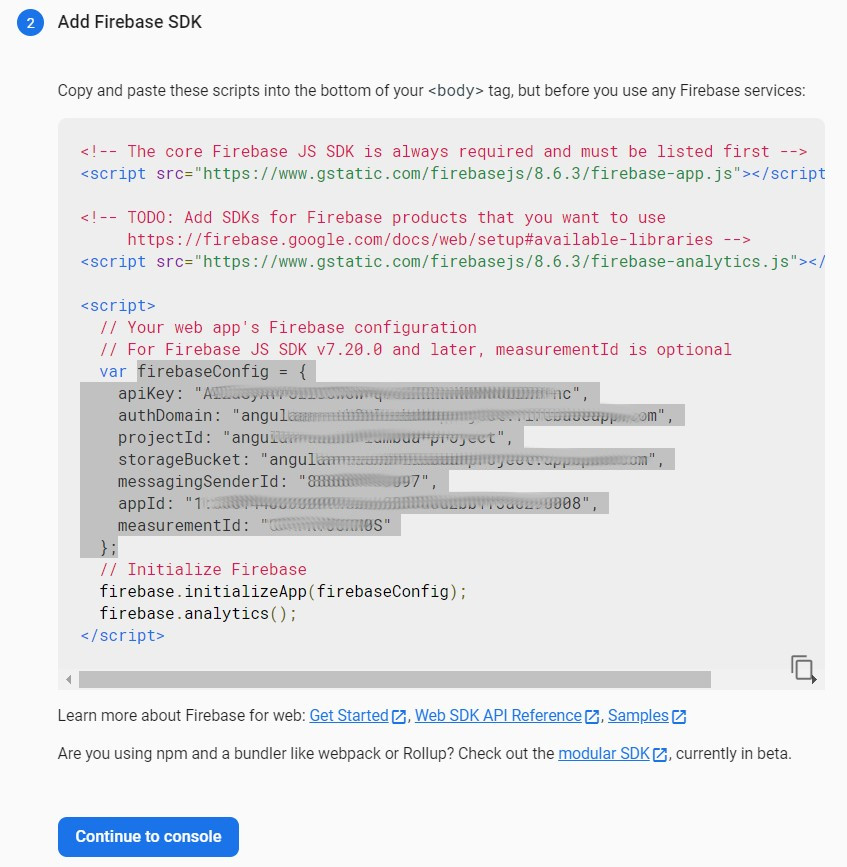
Once registered, a set of scripts will be presented. We only need part of these scripts. Copy the firebaseConfig object and save it locally as we will need it shortly. Once copied, click the Continue to console button.
The Firebase project and app are set up. That is all we need from Firebase for now.
Integrate Firebase into the Angular App
First thing we need to do is add the firebase config to the environment.ts file. Open src\environments\environment.ts and add the firebase config.
Now we need to install and import firebase-focused libraries. We will install AngularFire & Firebase into our app’s dependencies. The AngularFire install includes the Firebase library and can be installed using Angular Schematics.
During the install of Firebase you may be prompted by Google to sign in and authorize an account to connect the Firebase CLI to. Once logged in you will be provided a code that you need to paste into the terminal.
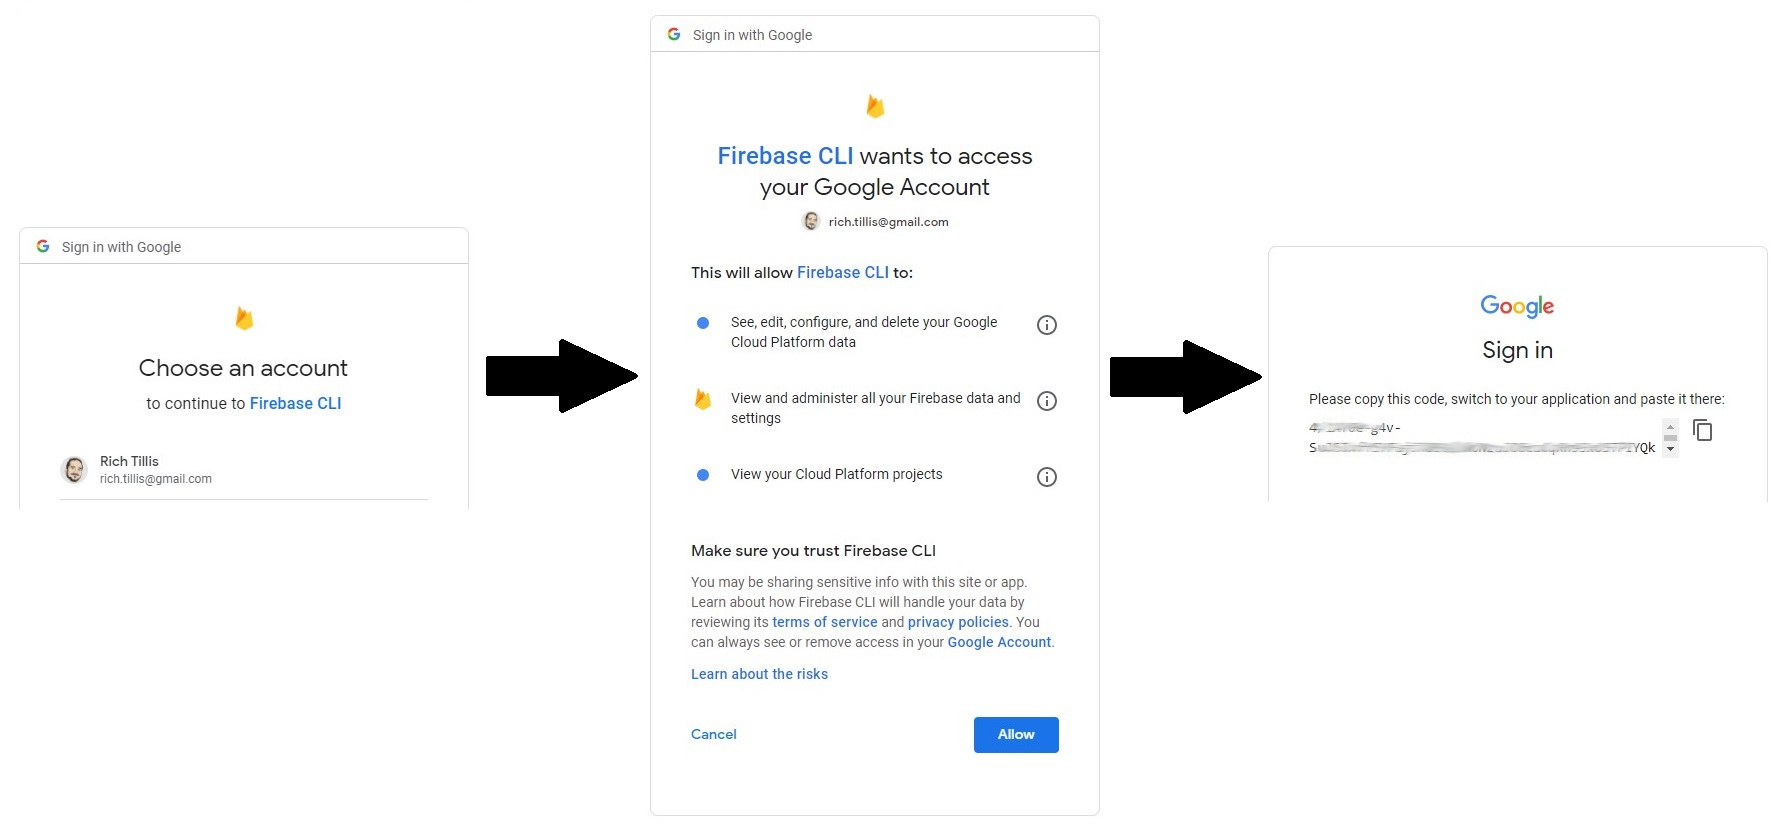
Next you will be provided a list of Firebase projects and propted to select one to connect your app to. These steps will complete the AngularFire & Firebase CLI install.
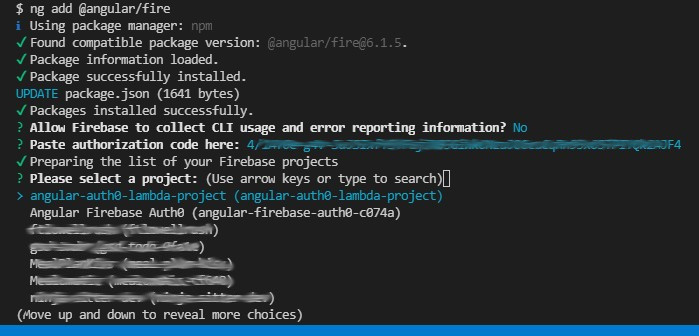
Now that we have AngularFire and Firebase available, we need to import and initialize them into the app. Open app.module.ts and update it.
That is it. Firebase is now integrated into the app. So how do we test it and make sure we can successfully authenticate to Firebase? We will address that in the next section.
Create a Firebase token locally using an Express server
As mentioned in the beginning of this post we will be working with a local Express server during this section. All of the next steps relate to that app so navigate to it on you filesystem.
We want to test out our Firebase integration and try to login using a token. There are a couple of things we need to move forward. First we need the Firebase Admin SDK, Second, we need a key to provide to the SDK to create the token, and lastly, we need a server to host the SDK that the app can communicate with and request the token. In part 3 we will utilize AWS services for these needs but for now we will use a local Express server to test this whole process.
Step 1, set up the SDK onto a local Express server. In the terminal, navigate to the root of the server. Once there, install the sdk from NPM
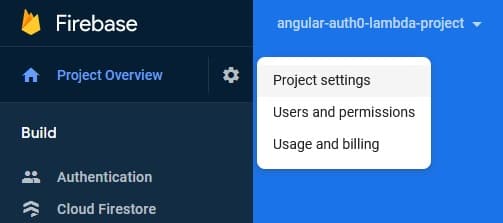
Step 2, we need to get a Firebase key from Firebase. Log into your Firebase account (https://console.firebase.google.com) and select your project. Once in the project, click on the gear next to Project Overview and select Project settings
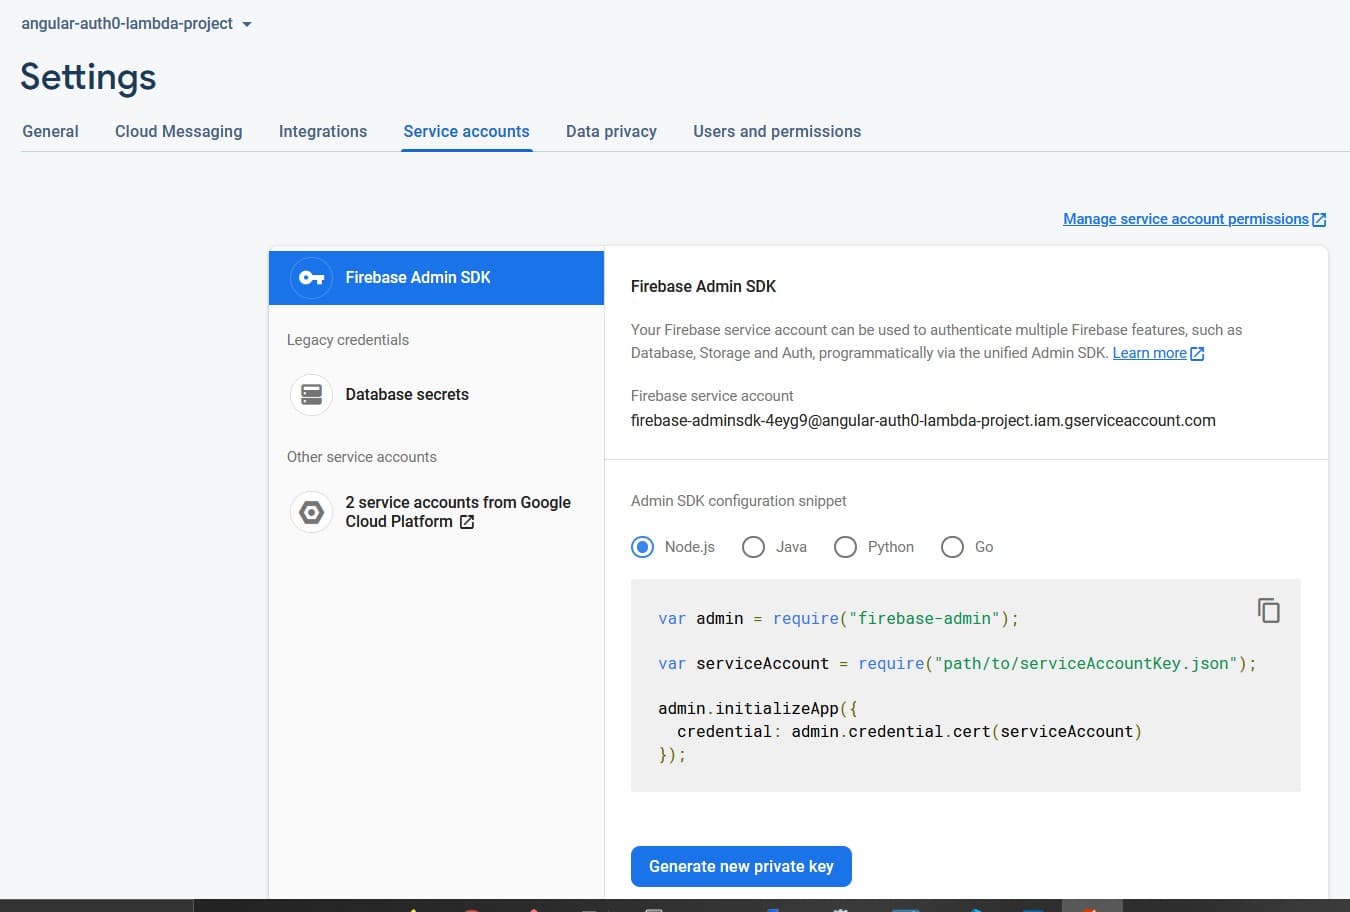
Click on the Service Accounts tab which displays options related to Firebase features of the project. Click the Generate new private key.
 ]
]
A modal will popup confirming that you want to generate a new private key. The warning is in red for a reason. Store this file somewhere safe and never in a public repository. Click Generate key. Save the key anywhere that makes sense to you. We will need it shortly.
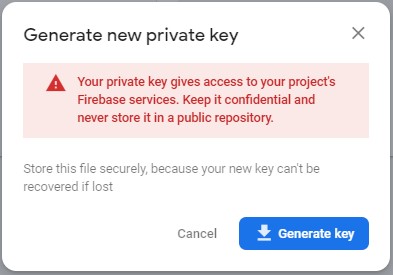
Your Firebase Admin private key gives access to your project's Firebase services. Keep it confidential and never store it in a public repository.
Jump back to your local Express server. Open index.js (or whatever you named your main file) and update it like this:
Here's a short overview of what's going on in the code. In the first three lines we are importing Express, cors, and the firebase-admin sdk. Then we are including the firebase admin private key into the server code. Remember this is not a long-term solution and this code should NOT be checked into any repository. In the next couple lines we are setting up express, cors and initializing firebase admin where we are using the private key. The next block of code is defining the /auth route. In this route we are using the firebase sdk to generate a custom token. The route is expecting a unique id as an included parameter in the api call. The last few lines add another route, configuration for an undefined route and finally a port to listen to.
In a seperate terminal start the server.
To verify it is up and running, open a browser tab and navigate to http://localhost:3000/. You should see the message "Hello World. CORS-enabled web server listening on port 3000".
All right, the server is all set up and ready to mint tokens! Next step is to update the auth.service.ts in our app to communicate with this server and then use the response to authenticate with Firebase.
Minting Tokens and Authenticating to Firebase
With the server up and running, head back to to the Angular app. Let's update the getTokenFromLambda function in auth.service.ts.
We added imports from @angular/common/http so we need to add that library to app.module.ts.
Ok, moment of truth. Let's see if we can request and receive a token. Make sure the Express server is still running.
If all went well you should be able to generate a token by clicking the AWS Lambda (get key).
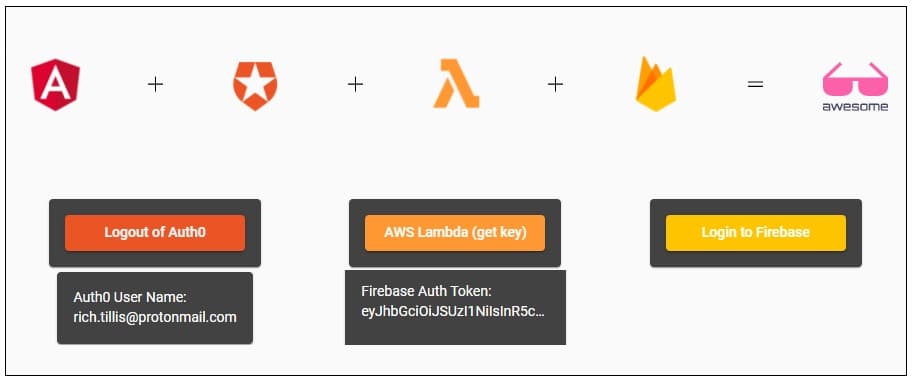
The last step in this guide is to now take that token and use it to authenticate to Firebase. To do that we need to head back over to auth.service.ts and update the loginToFirebase() function.
Let's see if it worked. Restart the app if its not yet running and click thru all of it and hopefully you get a Firebase User Id back. You will notice that the user id begins with auth0|... and that is because we use the Auth0 UID as the UID when we requested the token from the Express server.

Congrats - Part 2 is complete!!
Wrap-up
In this post, we setup our Firebase project and integrated it into the Angular app. We also setup a local Express server to test our code that created Firebase auth tokens. Finally we wired everything together to create a complete login process. In Part 3 of this guide we will take the work we did setting up the Express server and migrate it to AWS lamba. Stay Tuned!
